SkyTab Installation Guide

Welcome to your installation guide. This page will walk you through everything you need to prepare for your upcoming install — from getting your site ready, to what to expect during a remote guided or onsite installation, and where to find detailed resources and videos to help along the way.
1. Site Readiness
Preparing your site before your SkyTab installation ensures everything runs smoothly and keeps your install on schedule — whether your appointment is remote or onsite.
1.1 Before You Begin
- Do not unbox or connect any equipment unless you are completing a remote guided installation and have chosen to set up ahead of your call as outlined in the Remote Guided Installation section.
- For onsite installations, your installer will unbox and set up all equipment upon arrival. Keeping everything sealed until that time ensures all items are accounted for and connected correctly during your session.
1.2 Power and Network
- Each device should have its own dedicated, surge-protected outlet. Avoid sharing power with other high-draw equipment.
- A stable, active internet connection is required on the day of installation.
- Wired Ethernet is preferred, but reliable Wi-Fi works for most setups.
- All network cabling (Cat5e or greater) must be run and terminated before installation. Installers do not run cable.
- For mobile devices such as SkyTab Mobile, Glass, or Air, the installer will perform a wireless site survey and install access points where needed to ensure full coverage.
- More information about network requirements can be found in the Site Readiness Guide.
1.3 Hardware and Peripherals

- All devices and accessories — terminals, printers, cash drawers — should be on-site and stored near their installation locations.
- Verify that each station has the required cables, power supplies, and adapters.
- All mounts and stands must be installed prior to the installation appointment. Installers will not install or assemble any mounts.
- If you have countertops or cabinetry at your stations, make sure countertops are installed and drilled for cables to pass through before your installation day.
1.4 Kitchen Display System (KDS)
- If your order includes a KDS, it comes with a stand that can be assembled after reviewing this page.
- If you plan to wall-mount the KDS, the bracket must be installed before your appointment. The installer will not perform wall or bracket mounting.
- Ensure power and network connections are available at the KDS location.
View the Site Readiness Guide for detailed setup information and technical requirements.
2. Remote Guided Installation
A remote installation provides a convenient, guided experience where your hardware is configured, tested, and your team is trained — all without requiring an onsite visit.
The process includes scheduling, remote guided setup, remote training, and post-install follow-up.
2.1 Scheduling and Confirmation
Once you schedule your installation through Launch Control, you’ll receive a confirmation email with your installation date, time, and all relevant links.
You’ll also receive a calendar invite with the date and time of your install. This ensures your team and the installer are prepared for the installation.
2.2 Appointment Confirmation
Your confirmation email will summarize your install details and include helpful setup resources.
The calendar invite automatically sends a reminder the day before your appointment. Review this information carefully and share it with everyone who will participate in the session.
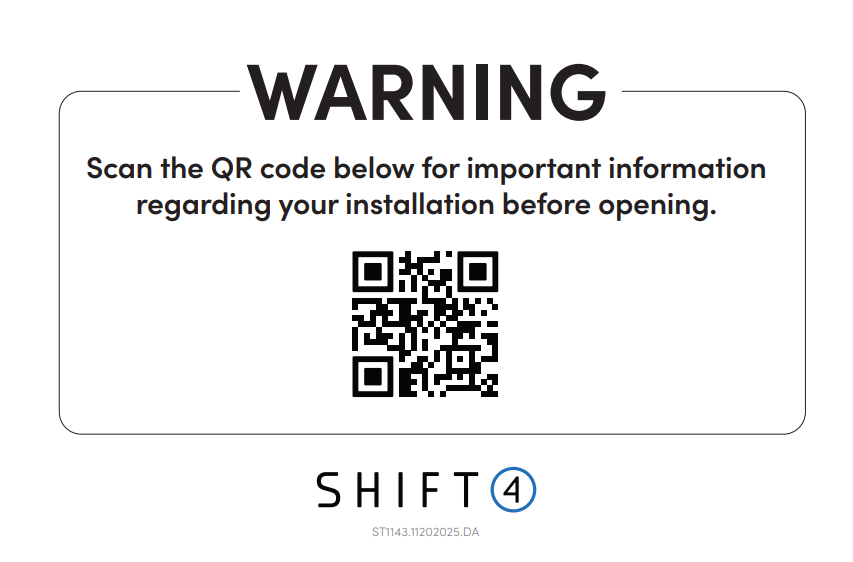
2.3 Scan Before You Unbox
The QR code on your packaging has brought you to this installation page. This page contains everything you need to prepare for and complete your setup.
Before opening any boxes, take a few minutes to review the Site Readiness section and look over the Hardware Setup Guide and Hardware Setup Video. Following these steps will ensure your installation goes smoothly and your equipment is configured correctly from the start.
2.4 Pre-Install Setup (Optional)
If you’re comfortable with technology, you can complete some setup steps ahead of time. Our team will still call you on install day to guide you through the process, but pre-setup can save valuable time.
View the Hardware Setup Guide and watch the Hardware Setup Video for clear, step-by-step instructions. Follow along with these resources and have your devices powered on, connected to your network, and ready for verification.
Your Installer will guide you through next steps.
2.5 Review Training Materials
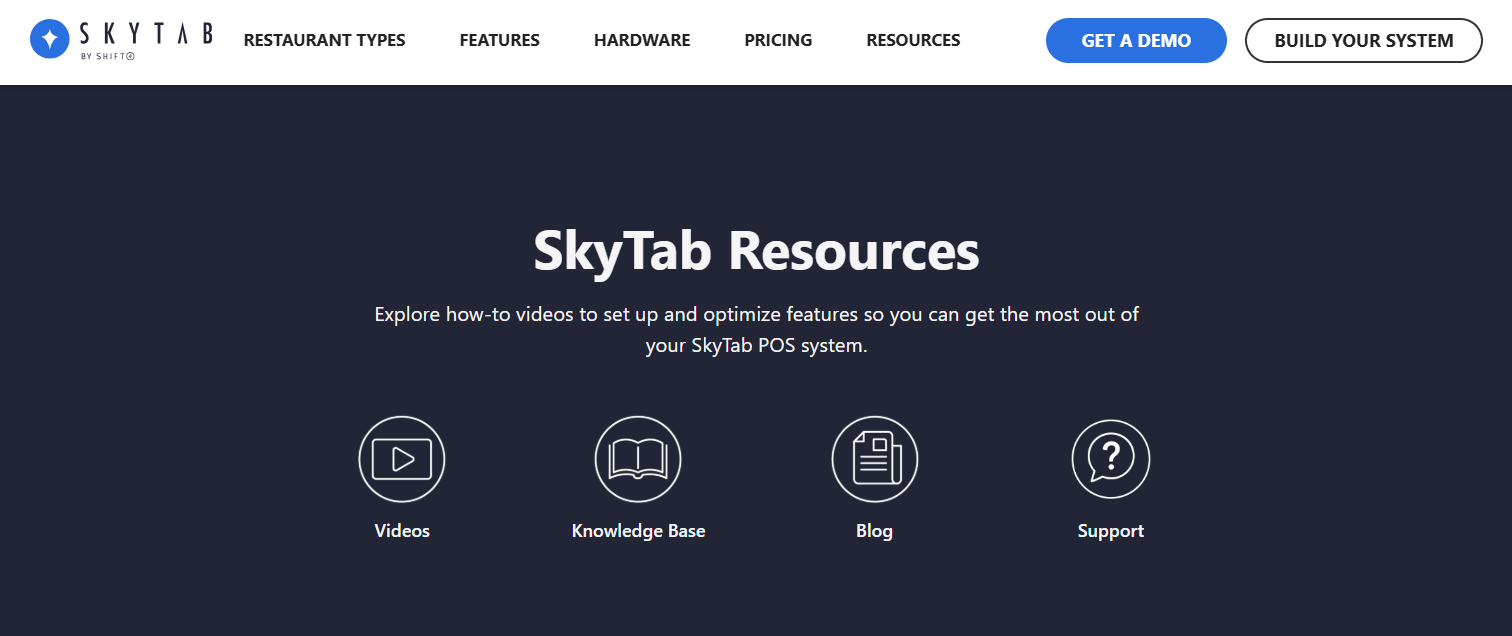
For the best experience, visit the SkyTab Resource Center before your install. Watch short training videos, review guides, and get familiar with system workflows.
A little preparation goes a long way — the more your team understands before the session, the faster and smoother your install will be.
2.6 During the Install
Your installer will walk you through the full setup process, providing clear, step-by-step instructions for connecting each device. If needed, the installer can use our remote video tool to see your setup in real time and assist as you go.
Once the hardware is connected, they will remotely access each station to complete configuration and perform system checks. The session includes full testing and validation — running sample transactions, confirming printer and terminal connectivity, and verifying that all peripherals are working properly.
2.7 After Installation (Training and Wrap-Up)
After setup and testing are complete, your installer will begin live remote training. This session covers daily operation, SkyTab workflows, payment processing, reporting, and troubleshooting basics. Make sure your full team is available to participate. If some members can’t attend, designate a manager or owner as the trainer to share the information afterward.
At the end of training, you’ll sign a digital installation checklist that outlines everything covered during your session. You’ll then receive an email with the signed copy and links to all the resources reviewed during installation — including setup guides, training materials, and support documentation.
3. Hardware Setup Video Guide
Follow this step-by-step video guide to install your SkyTab POS hardware.
4. Onsite Installation
Our onsite installation experience delivers true white-glove service from start to finish. A certified technician will handle every detail of your setup — from unboxing and assembly to configuration, testing, and live training — ensuring your system is fully ready for use before they leave.
4.1 Before the Visit
A technician will reach out 24–48 hours before your scheduled appointment to confirm your installation date, time, and site readiness.
During this call, they’ll review key details, verify that all equipment has arrived, and make sure your power and network connections are prepared. This proactive step helps guarantee a smooth and efficient installation day.
4.2 Day of Installation
On the day of your installation, your technician will arrive onsite and handle all equipment with care, unboxing, assembling, and positioning each device in its designated location.
Once setup is complete, they will complete configuration and system checks to verify proper operation at every station.
After configuration, the technician will conduct comprehensive testing and validation, confirming device connectivity, printer functionality, and running sample transactions to ensure everything performs exactly as expected.

4.3 Training and Live Coverage
After testing is complete, the installer will begin onsite training and live coverage. This session walks your team through daily system use, including processing transactions, reviewing reports, managing devices, and troubleshooting common issues. All personnel who require training should be onsite and available during this session. If some staff are unavailable, a designated manager or owner can act as the primary trainer to share the information later.
At the end of training, you will sign the same digital installation checklist used for remote guided installs, which outlines everything covered during setup and training. A signed copy will be emailed to you automatically, along with links to all materials reviewed during installation, including setup guides, training resources, and support documentation.
Typical onsite installations — including setup, configuration, testing, and training — take approximately one hour per terminal. The exact duration may vary based on the number of stations and the overall complexity of your site, but your technician will remain onsite until every station is fully tested, trained, and ready for use.